|
We' ve been expanding here at Master Grafix, and making room in our building. With that said, these old wooden screens had to go! We have, quite literally, hundreds of them. Ecological and economical were the words of the day. These planter boxes are a great way to recycle your old frames! 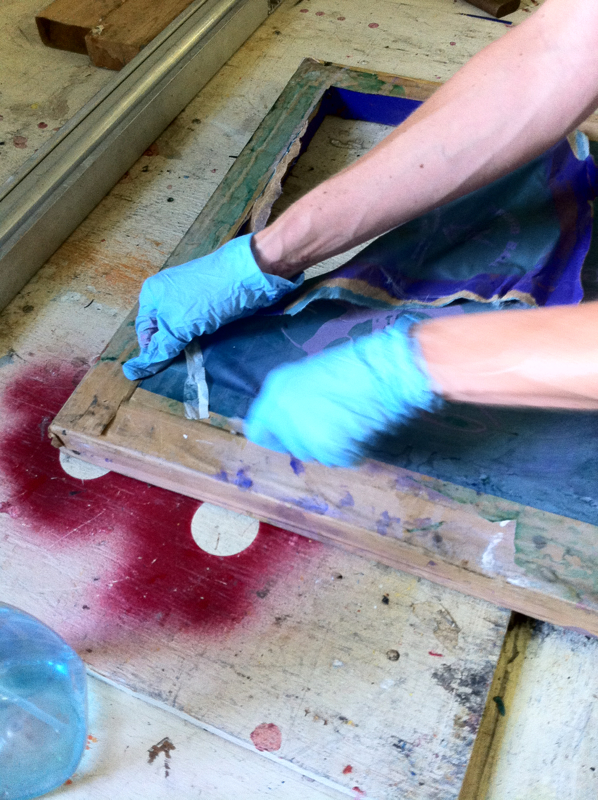
Took the old screens and cut out the mesh, quick and easy. Didn't have to be perfect, just needed a hollow frame. Discard the mesh, and make sure any old or uncured ink is disposed of properly. 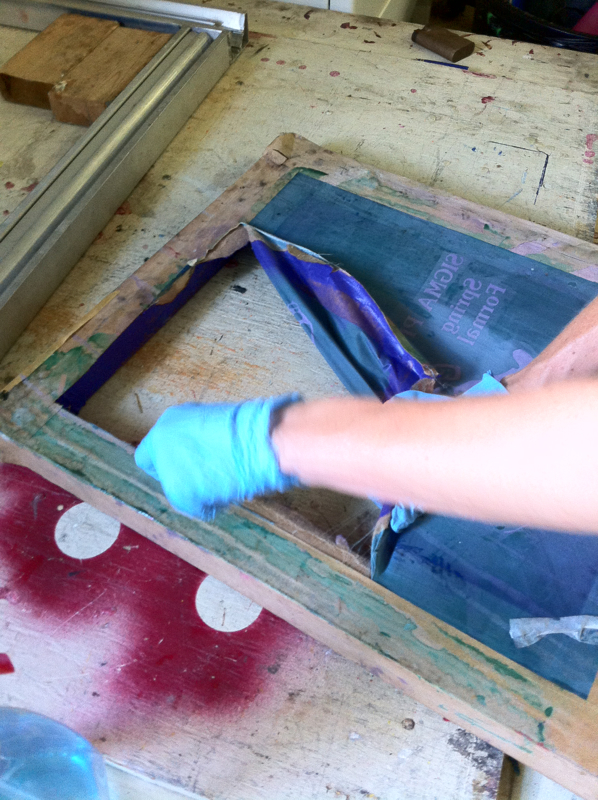
Next, we used two old screens that had no emulsion covering the mesh. We nailed it to one hollow frame, mesh side down. If you don't have any with clean mesh, just use ones with a lot of exposed mesh to allow for good drainage. 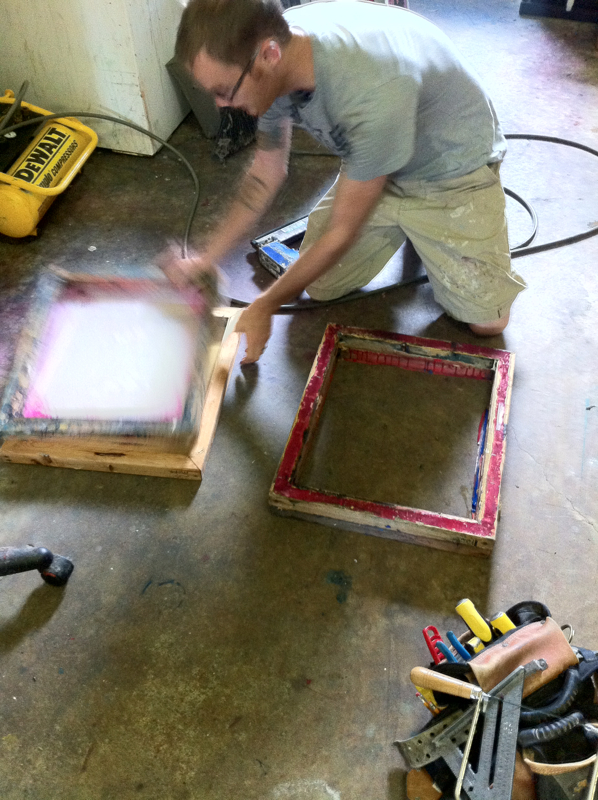

Next we filled the open side with the extra packing peanuts. We've been wanting to use these somehow, rather than throwing them away. This helps with weight distribution of the soil on the mesh, and drainage as well! 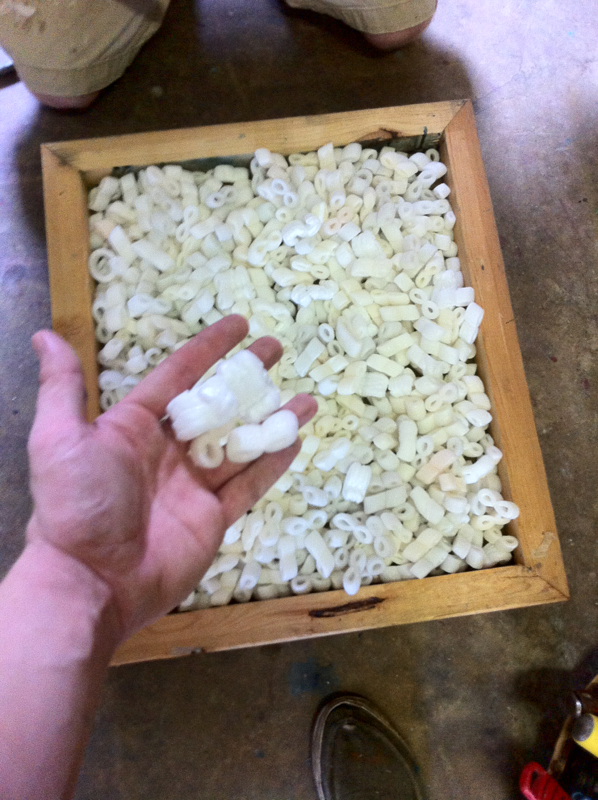
After that, we took our second screen with clean mesh, and nailed in down on top. This secures the peanuts inside. 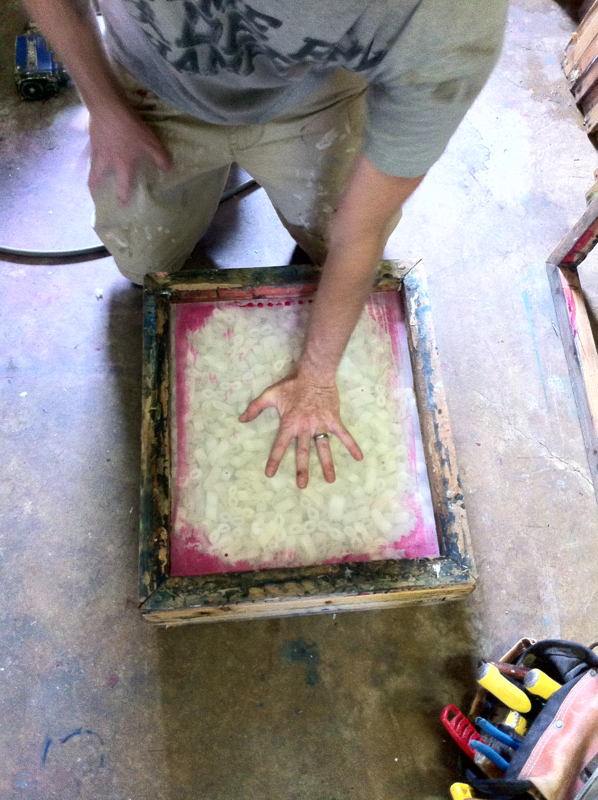
Then we took 5 more frames, with the mesh cut out, and stacked each one, nailing down one on top of the other. 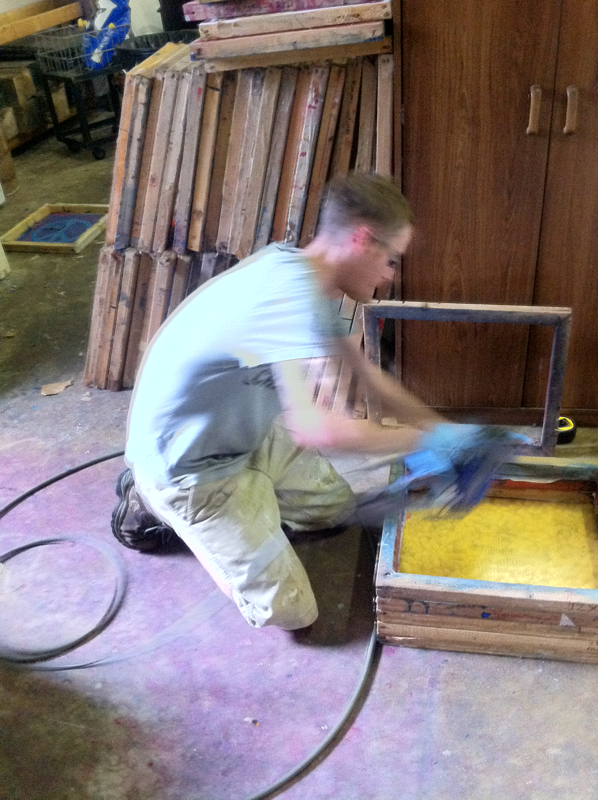
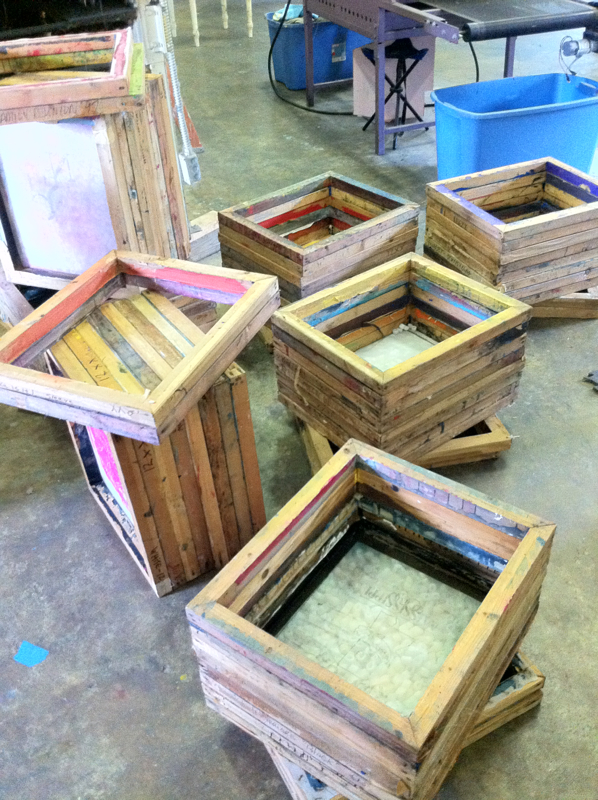
Here are our 7 planter boxes, all put together except for the bottom. We wanted to make handles on the bottom. This way we can easily relocate the boxes if needed. 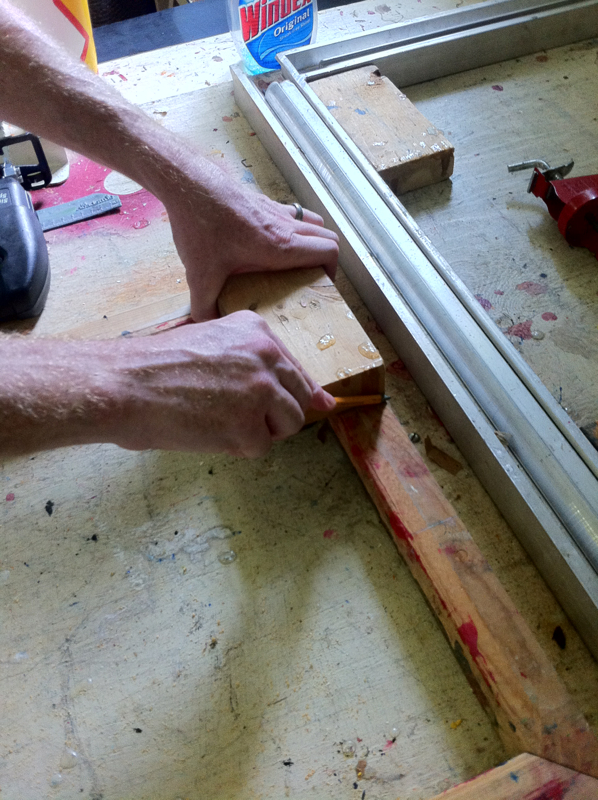
Used a simple block to make our cut marks. The cut a hollow frame, into two pieces. Next, fasten to the bottom frame. 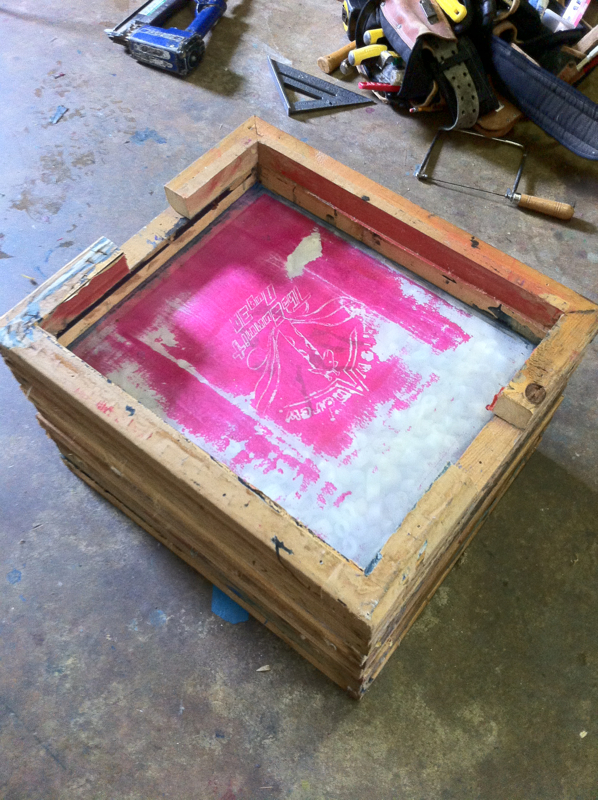
Take one last hollow frame to nail on top of the two pieces, and complete the hand slot for the bottom. 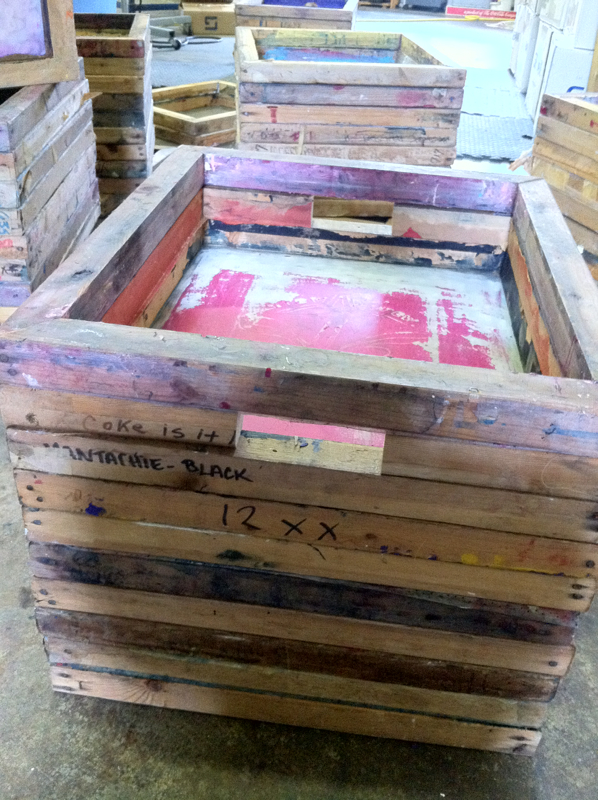
After this step, your boxes are complete! The next move is to put them in place. We wanted to liven up the front of our building, so we intend for these to be flower boxes. You could easily plant vegetables too. I would recommend lining screens with the black landscaping plastic material that goes in garden beds, or something of that nature. This would keep the food from being contaminated from any residual chemicals that may be left on the screens. 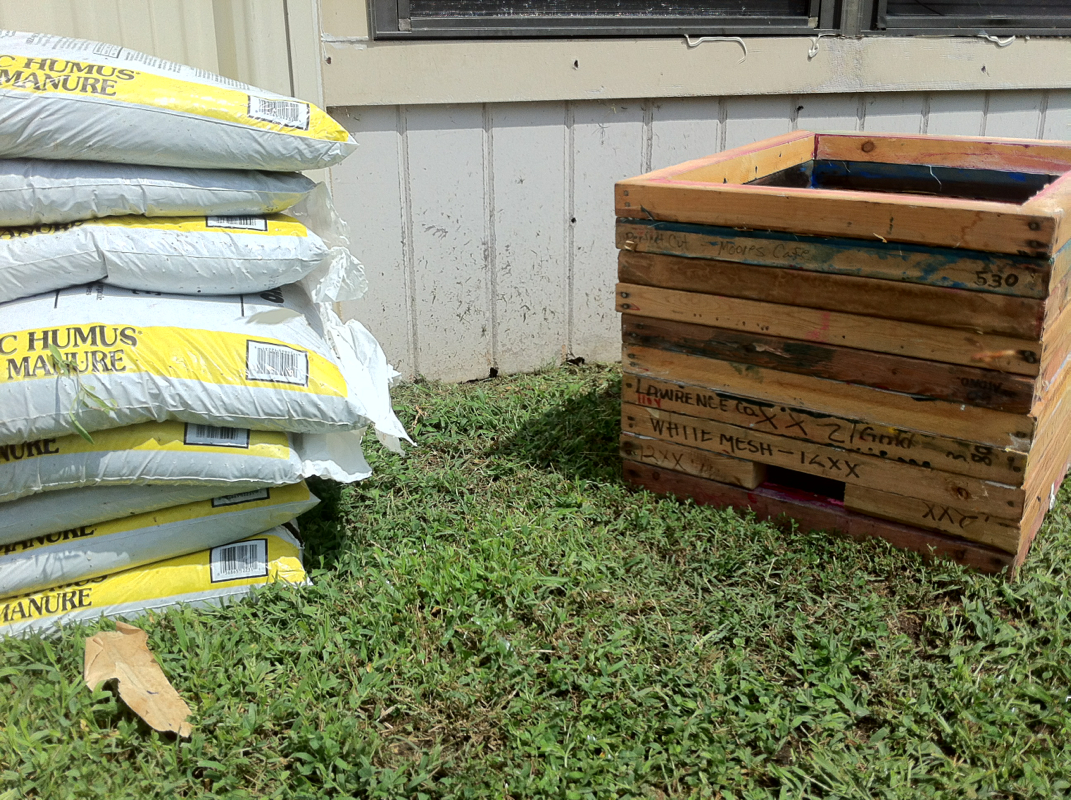
Once our boxes were in place, we filled the bottom with a few more packing peanuts to keep the soil from clumping, and then filled the rest with soil. 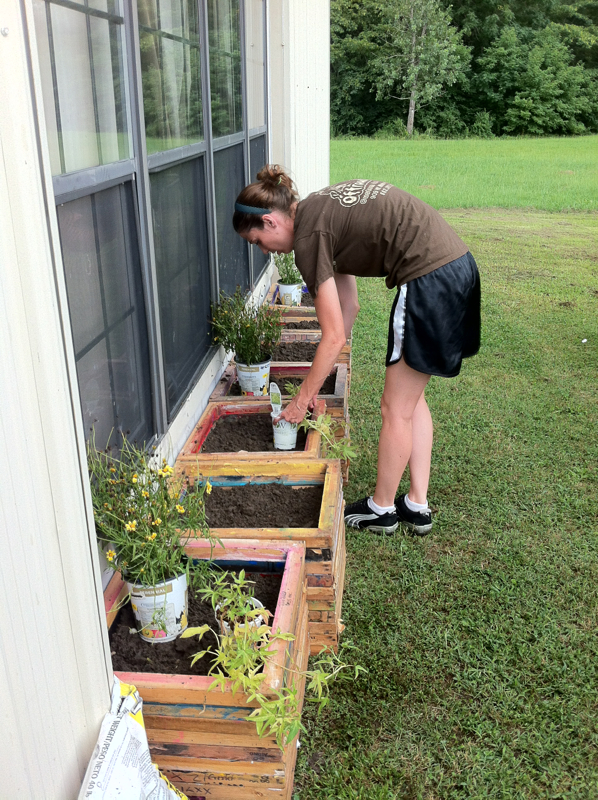
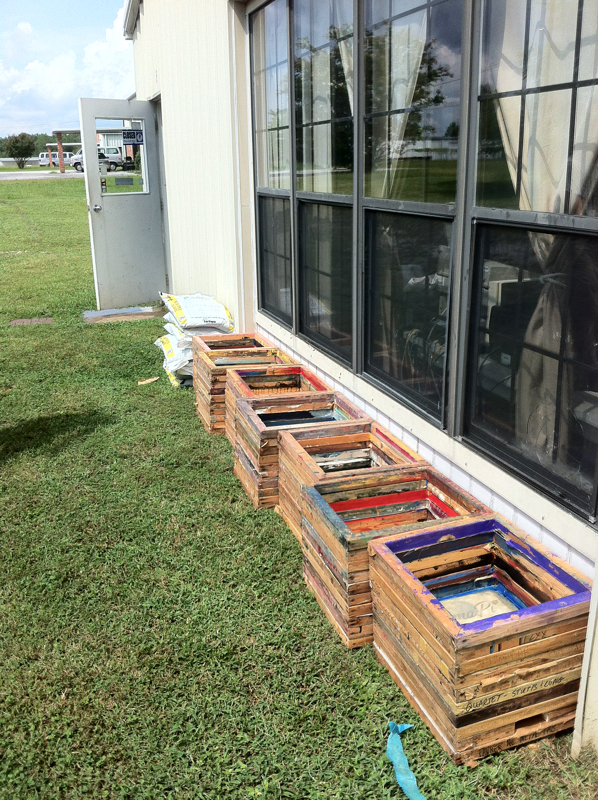
Marjorie scored some clearance flowers! Budget friendly! We got flowers that love sun, since the front of our building gets a lot of it. 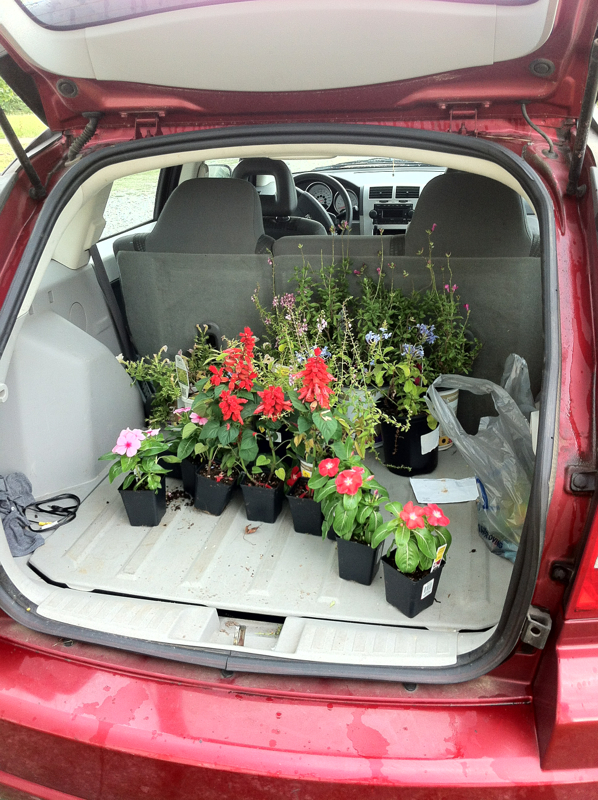
A little finesse from Marjorie, and the flowers all have home. 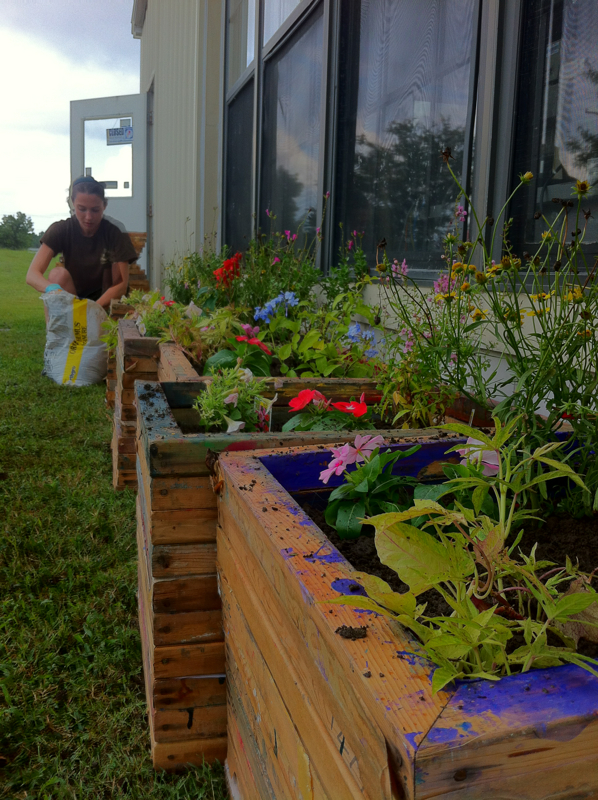

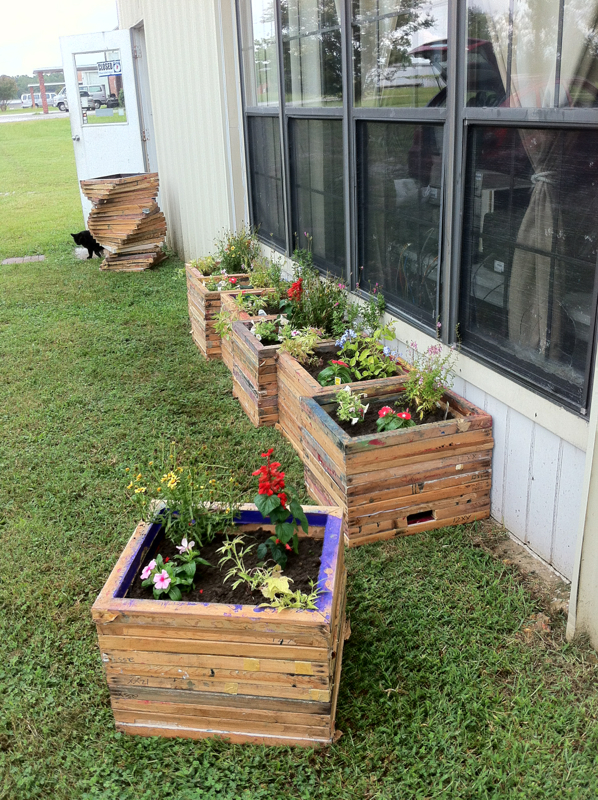
We had a blast doing these, and it literally took only an afternoon to finish. Plus, they're portable! Huge thanks to our good friend Brandon of Seamless Constructions for helping us put these together - www.seamlessconstructions.com 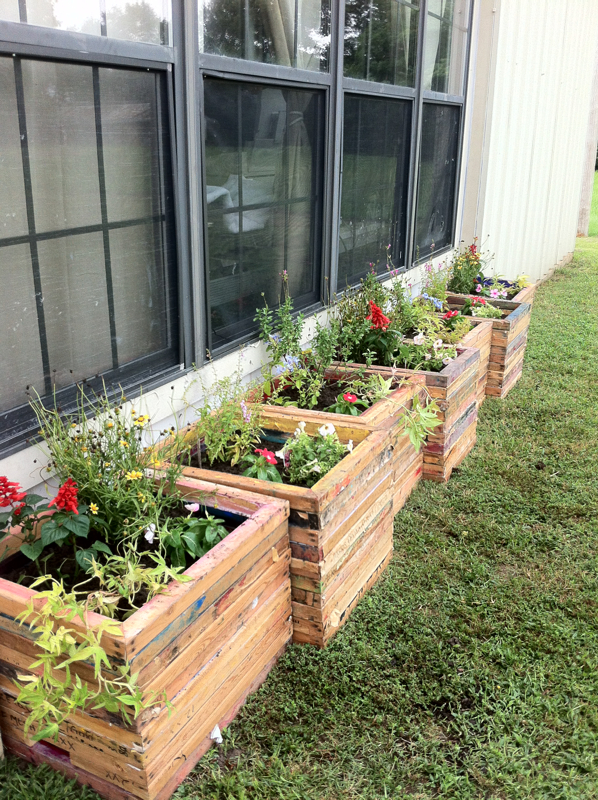
2 Comments
|
ArchivesCategories |
 RSS Feed